The Ultimate Move Deck Guide

Introduction
Ever since Marvel Snap was released, one of the mechanics which has always stood out to me was moving the cards around the board. And, since then, the archetype I played the most was the "Move" archetype.
This game style is incredibly satisfying, and very strong, which is why I decided to bring you a guide on my version of the "Move" list.
We'll go through card by card and understand how the several combos in my list work. I'll also give you some tips, so you can organize your thoughts when it's time to adapt to adversities during your matches.
Move: Confusing Your Opponent
The "Move" archetype is a deck style which allows you to easily break enemy strategies without necessarily destroying their cards. Moving your enemy's cards creates the "illusion" that they didn't lose value on board, as their cards continue to be there. That causes your opponent to take longer to understand they already lost the match, which in turn opens up many windows for you to "Snap" and win more cubes.
No matter how good your deck is in Marvel Snap, you still need to know exactly when to "Snap", and the move archetype is one of the lists that most gives you openings to "fool" your opponent.
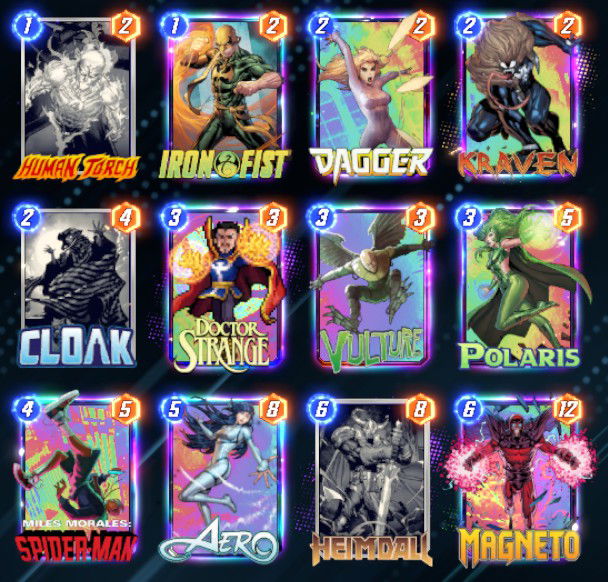
Deck code:
eyJDYXJkcyI6W3siQ2FyZERlZklkIjoiUG9sYXJpcyJ9LHsiQ2FyZERlZklkIjoiVnVsdHVyZSJ9LHsiQ2FyZERlZklkIjoiTWFnbmV0byJ9LHsiQ2FyZERlZklkIjoiQWVybyJ9LHsiQ2FyZERlZklkIjoiTWlsZXNNb3JhbGVzIn0seyJDYXJkRGVmSWQiOiJEb2N0b3JTdHJhbmdlIn0seyJDYXJkRGVmSWQiOiJIZWltZGFsbCJ9LHsiQ2FyZERlZklkIjoiSHVtYW5Ub3JjaCJ9LHsiQ2FyZERlZklkIjoiSXJvbkZpc3QifSx7IkNhcmREZWZJZCI6IkRhZ2dlciJ9LHsiQ2FyZERlZklkIjoiS3JhdmVuIn0seyJDYXJkRGVmSWQiOiJDbG9hayJ9XX0=
Main Strategy
This list's main strategy involves you Moving your enemy's cards to a location you don't want to dominate, while you move your own cards to a location you want to dominate.
As each match is very different from another due to location RNG, you won't play this way all the time. But the most common strategy is to move your opponent's card to the rightmost location, and move your own cards to the middle location and the leftmost location. As a result, it is usually a good idea to always begin playing your lower-cost cards on the rightmost location.
The reason why the rightmost location is the one you'll move your opponent's cards to is that your deck's main finisher, Heimdall, moves all your cards to the left. Additionally, on the first few turns, you can abuse Iron Fist's effect, which also moves a unit to the left.
This way, it is common to have a significant number of cards on the left and in the middle, and, as a result, moving your opponent's units to the right makes it easier for you to win the other locations.
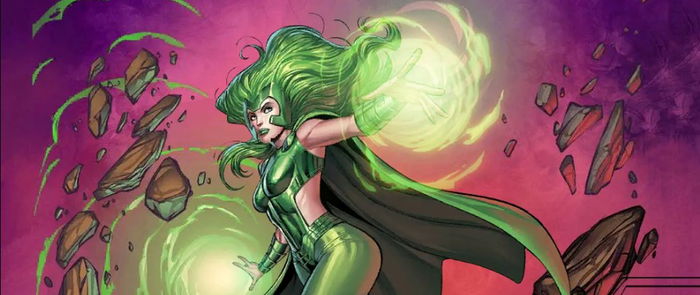
The most important card early on is Polaris, as it will help you move your opponent's cards to the locations you don't want to dominate. In most games, that place will be the rightmost location, as we have discussed.
However, as we won't be able to put this strategy in practice every time, always try to begin playing your cards in places you don't really want to dominate, to create the illusion you'll be contesting that location. At one point, you'll play cards such as Doctor Strange and Heimdall, and all your cards will go to other locations, leaving your opponent to contest the rightmost place alone.

Another strong card is Aero, which, even after nerfs, is still one of the main tools you'll use to break your opponent's strategies. With it, you'll be able to completely decimate Galactus and Alioth's strategies without much effort.
To make the deck's combos and its cards' roles easier to understand, we'll discuss each one of them and how they interact with your deck's strategy.
Deck Cards
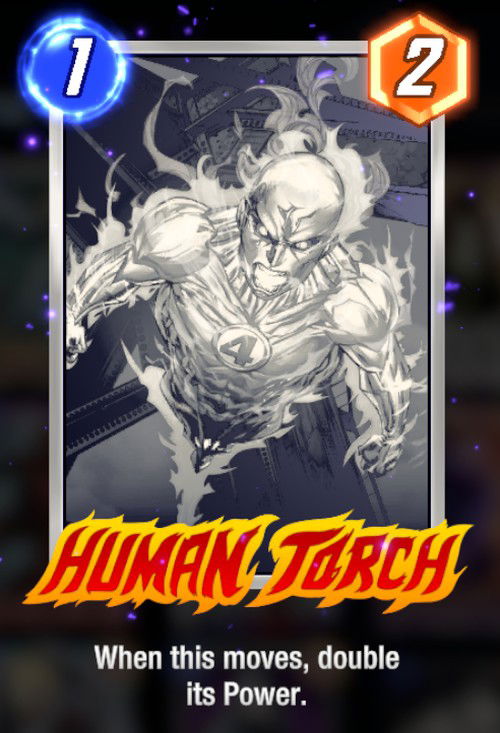
Human Torch - This is one of the cards you'll move. As Human Torch's cost is very cheap, it allows you to move it more than one time during the match, drastically increasing its power. It is a viable alternative to play early on, pairing with Iron Fist to contest a location as soon as the game starts.
Ideally, you'll move this card more than once during the game, but have in mind that usually that won't be possible. Even then, it is still perfect to play on turns you have mana left, to get a bit more power in the locations you want to.
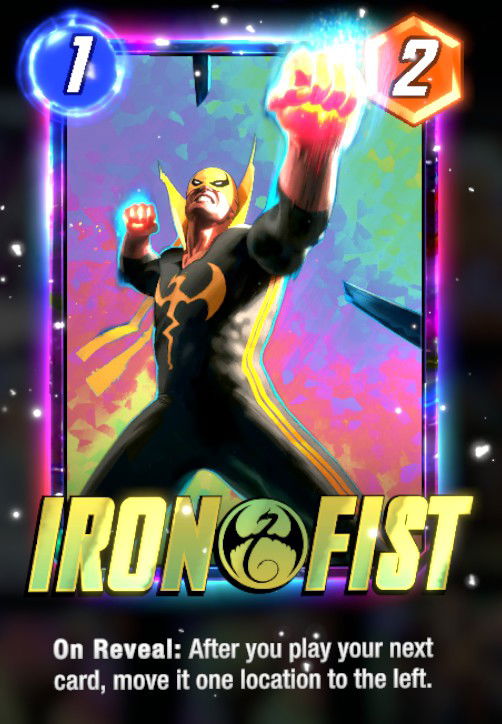
Iron Fist - This is the most versatile card in the deck, which allows you to make the simplest plays and the most complex ones, such as placing units in unplayable locations, or just increasing the power of your cards which have synergy with movement.
Iron Fist will many times force you to think a bit outside the box to fully extract its effect's value, and that is why it might be a bit hard to make it work every game. You don't necessarily need to play it on turn 1. It is possible, for instance: play Iron Fist, then play Aero to pull an opponent's card to her location, and move Aero to another location to the left, using Iron Fist's effect.

Dagger - This is the weakest card in the deck, as it is your unit with the most conditional effect. You can only take full advantage of her potential if your opponent has a location dominated with at least two cards. I choose to use it, as it can really grow your scores and very easily contest places which were already dominated by your opponent. But, in most games, it will have the same role as Human Torch, so treat it as a more expensive Human Torch.

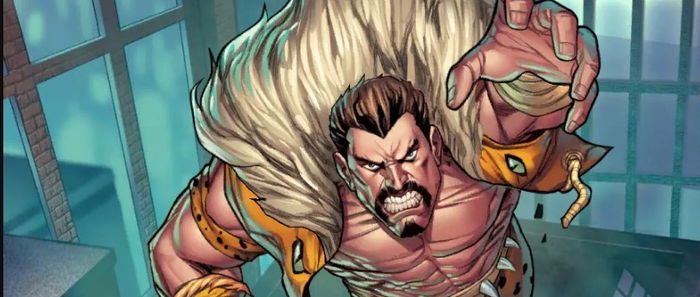
Kraven - This is the card that will get you more points, and it is the unit you play around most games. It can increase your score if enemy units move to its location as well, so practically everything you do with your deck increases Kraven's power.
A very important tip is to try and use Kraven as a guide to where you'll move your units. That means it should always be in the location your cards are moving to. If you want to move a card to the right, it should be on the right. If you wish to move a card to the left, it should be on the left.
It also gains power when it moves with another card, so in some matches it is quite important to position it close to units which increase power by moving.
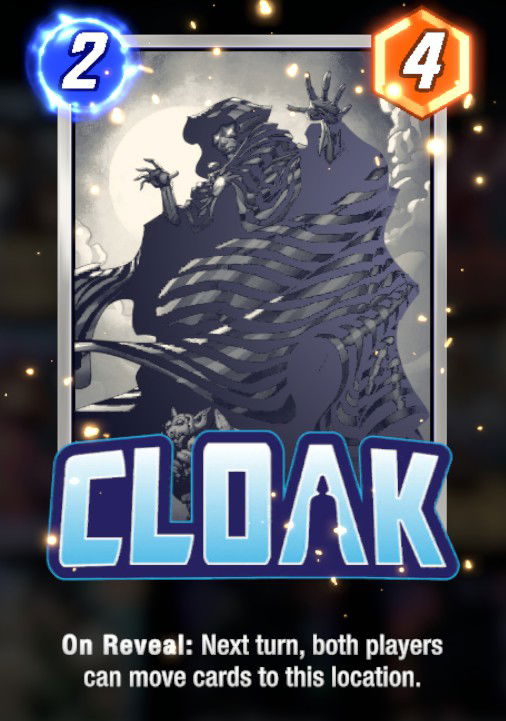
Cloak - This card is very strong. Cloak has premium stats for its mana cost, with a very strong effect, which puts on a heavy bluff on board. Your opponent can also move their cards to Cloak's location, and sometimes repositioning seems like a good idea, when, actually, you don't need to move your cards with it, and your opponent ends up giving you an entire location.
Another common situation includes when your opponent moves their units with you as you have a Kraven on board, increasing its score even more.
Four points for two mana is a lot. In some games, you won't have a very good opening, and your cheapest card will be Cloak. You can easily play this card with no issue without abusing its effect, as it alone is already quite strong.

Doctor Strange - This card has two roles in your deck. The first is moving many of your cards all at once to a location, and the second is moving your biggest card on board.
Notice that many cards in this list have 2 power if you only have these units on board, and Doctor Strange will move all of them, even if it is bigger.
Doctor Strange is a very important card in your list, as it is one of the few cards that can move your units to the right. So keep an eye on it, as in some matches it will be the key piece to your victory.
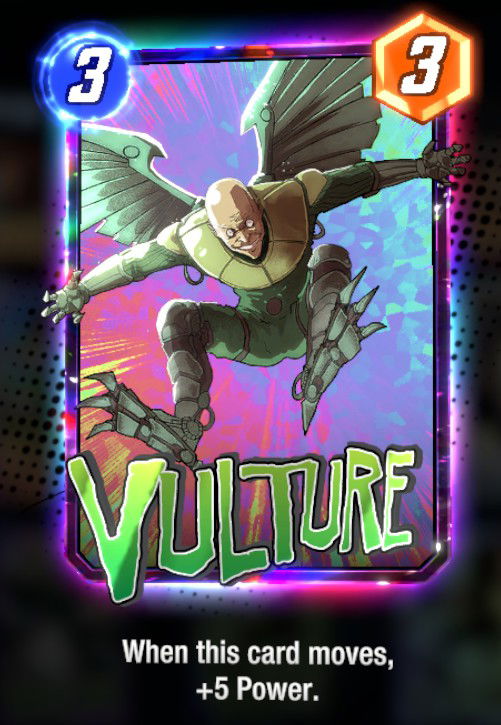
Vulture - This is one of your cards which increases in power if moved. Vulture gets 8 points of power if it is moved only once, so many times it is enough for you to win some locations, hitting units which are more expensive head on.
Try to always play it on curve, or as soon as possible, so you can take advantage of your deck's synergies more efficiently. Please keep in mind that Vulture, in most matches, will be your highest power card until turn 6, so try to protect it as much as you can.

Polaris - As we've discussed, Polaris is one of the most important cards in this whole list. It alone can break many early game strategies. It is also a card that lessens the power pressure your opponent can declare on a location early on.
It has quite decent stats, and, as a result, even without moving anything, it is still a card that can take care of a location well, as it declares 5 points of power for just 3 mana.
Try to close out enemy locations by moving smaller cards to locations with 3 units and Polaris on the last few turns. It is always a good idea to gauge your enemies' power, so you have an idea how much power you need to win a location, and Polaris is one of the best units to do that.
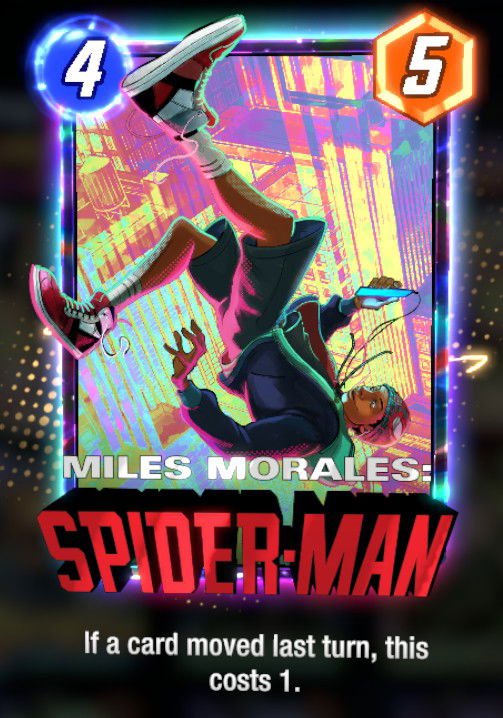
Miles Morales - This is my favorite card of all times. Miles is incredibly consistent on turns 3 and 4, in which you usually need to play something that doesn't completely empty out your mana. This way, it can be played for just 1, and can help you win some locations which before were indisputable.
Miles and Polaris are two cards which have 5 power, which means, they can be moved together with Doctor Strange too.

Aero - This is one of the list's stars. We've already discussed it can ruin enemy strategies by itself, and that is basically its role in the entire deck.
Read your opponent's plays, and try to predict what they'll do next - if they're going to play a Galactus or a Professor X, and move those cards to locations in which they won't be able to take advantage of their effects. Sometimes, it is very worth it to play Aeros on turn 6, as you can combo it with Miles Morales to try and finish games.
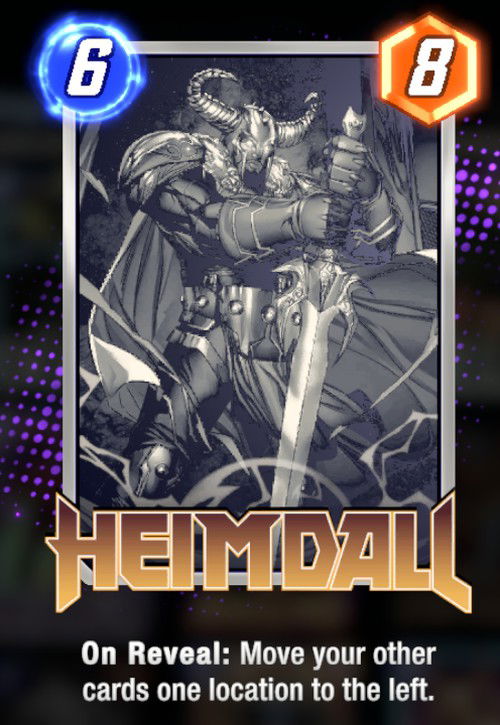
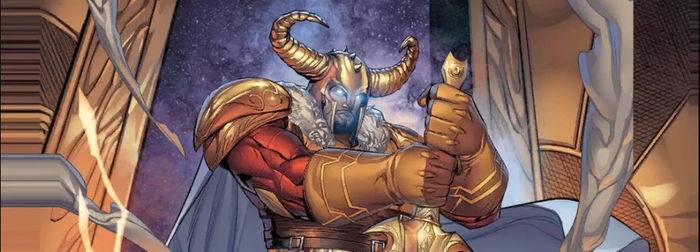
Heimdall - We're finally discussing our list's finisher. This deck has two 6 cost units, and the first is Heimdall. This card is your combo's main focus, and its effect is the reason why we positioned all our units in this very different setup for this archetype. We always play cards on the right, to move them to the left.
Heimdall activates all the effects from your cards which gain power by moving, and also combos really well with the whole list. The only difficulty you might have when it's time to play Heimdall is knowing where it should go, as it doesn't move alongside other cards. So keep an eye on it, because it will be stuck to the place you played it in.
Cards always move in an order from a location to another. The card at the top-left spot, in a location, will always be the first to move, just like the card at the bottom-right spot will always be the last. Pay attention to how you move your units, because it matters in most games.
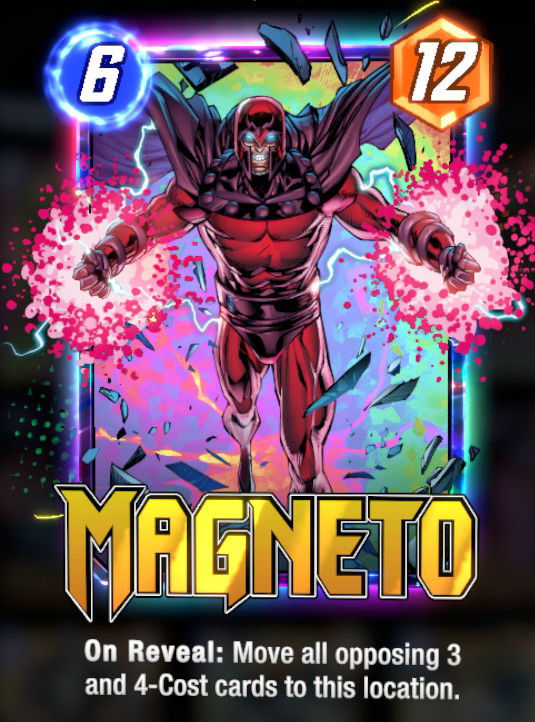
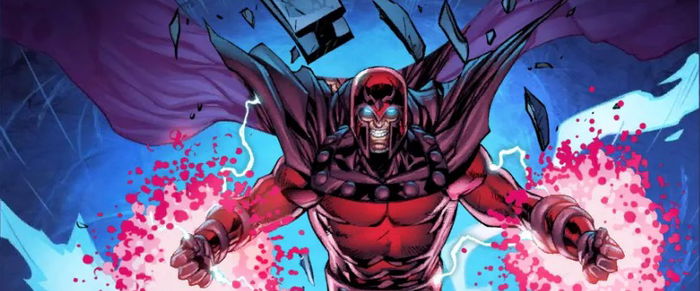
Magneto - The last finisher in the list is one of the coolest cards in the game. It is a bit hard to understand what it's doing here. But, basically, it is useful for two goals. The first is moving enemy units to remove them from locations you want to win, and the second is just declaring 12 points of power in a location.
It is possible Magneto is the unit responsible for giving you the victory in most matches, so really understand how to use it, as each game will require a different use.
The secret to this list at the end of the day is knowing when to adapt your strategy, so you can fully extract Magneto's value. It might be that in a certain match you'll benefit from moving enemy units to where your Kraven is, for instance. There are some locations which destroy units, and you can also move your enemy's cards there. There are infinite ways to play with Magneto.
Bad Matchups
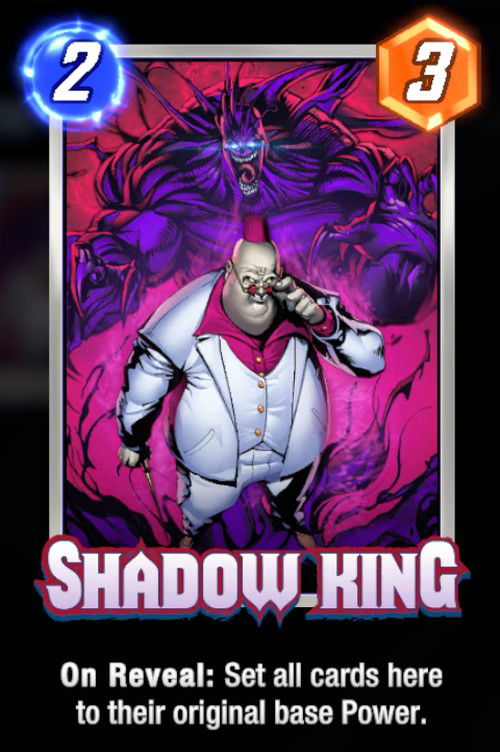
As your list benefits from increasing your units' power by moving them, any deck that brings the Shadow King easily breaks your strategy. You need time to make your units grow, and when you finally do, your opponent only resets their power, and with one unit.
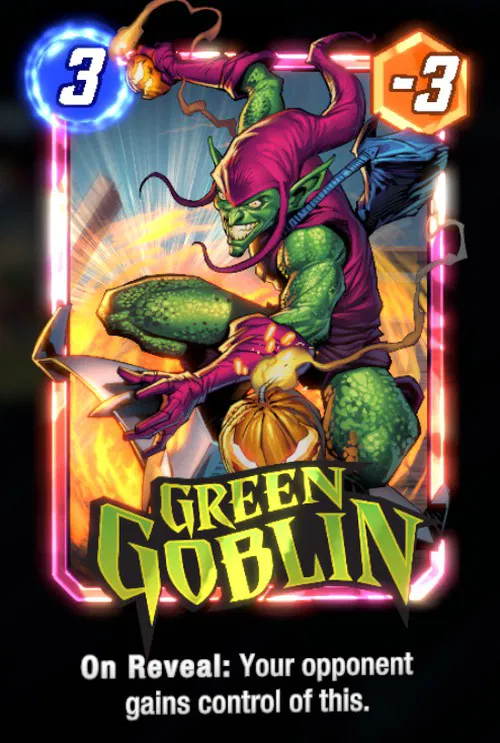
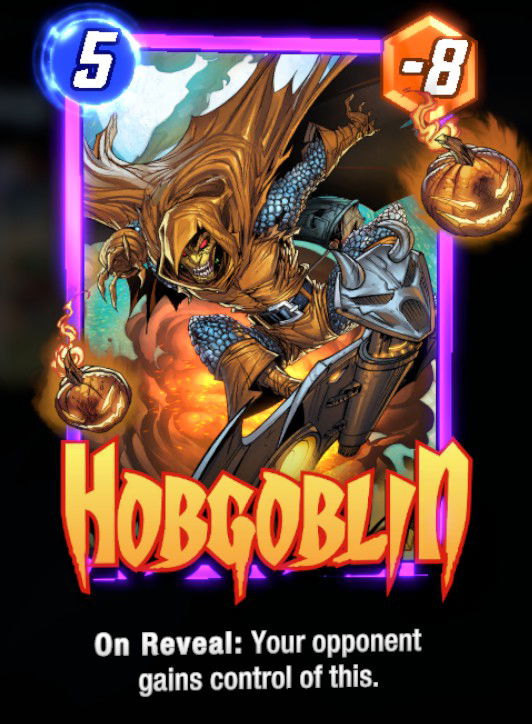
Another weakness with this list is that you need, at all times, to be careful with the order you move your units from one place to another. If your opponent disrupts you by playing a Green Goblin and a Hobgoblin, you, besides losing your order on board, will many times lose the location in which your opponent played these units.
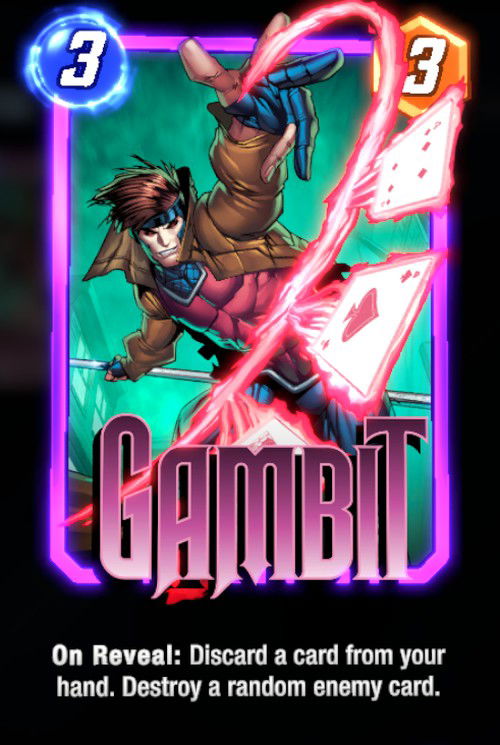
Gambit also destroys random units on your board, and if you lose any of your units, that is already enough to lose the game's rhythm severely, once your whole deck is based on quite specific synergies between your cards.
Good Matchups
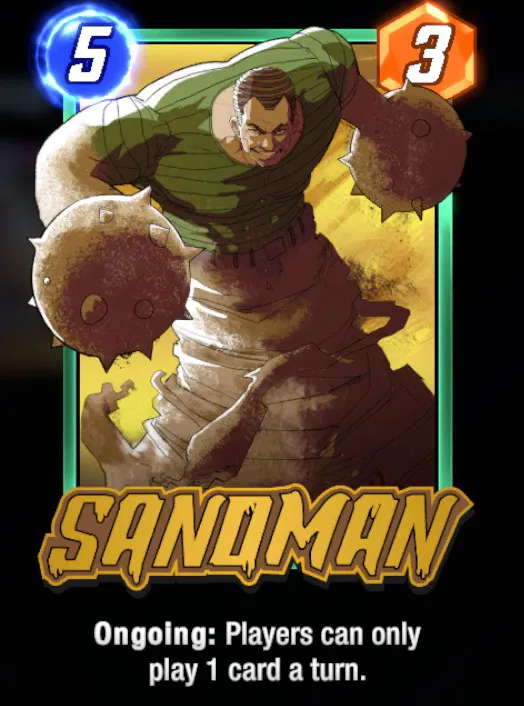
Sandman decks are always caught off guard by your strong mana-curve plays. Aero and all your finishers are quite expensive cards, and you'll rarely be punished by playing only one card per turn.
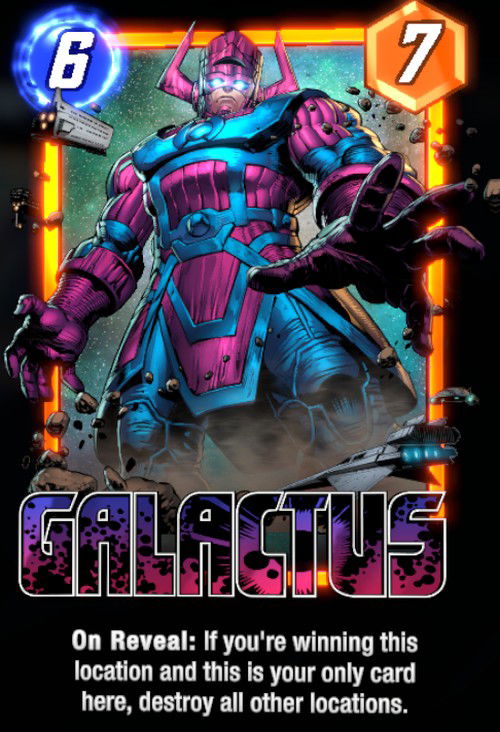
Galactus is one of the easiest matchups for this list, as you only need to move your enemy's units to the location your opponent will play Galactus in. Or just play Aero where your opponent played a unit, to cancel their Galactus's effect.
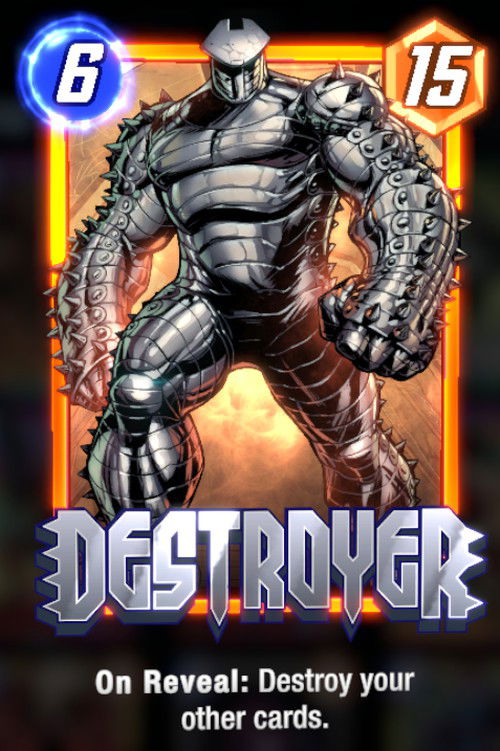
Destroyer lists benefit from dominating two locations in the match, leaving another location wide open. That wide open location is where you'll move your enemy's units.
If you move even a 1 or 2 cost unit, that will already break your enemy's deck severely. Keep an eye out to move Professor X at the right time as well, as it is one of the cards that can protect this deck's units from being moved.
Final Words

If you read this far, now you know everything about the Move archetype.
Don't forget to comment and share this article on social media. See you next time!









— Комментарии 0
, Реакции 1
Прокомментируйте первым